

Ejaad-Nama 0x10: Teardown Therapy
Ejaad-Nama 0x10: Teardown Therapy
Ejaad-Nama (Urdu: Letters of Invention). We talk about lemons, acid batteries, and anything in between.


Ejaad-Nama is the word from the Urdu language which means Letters of Invention. Big thanks to a couple of new subscribers since the last newsletter. Welcome and feel free to comment, criticize, contribute, call out, and so on. If you still have not done so, you can do so here:
Teardown Therapy
Whenever I get my hands on old or broken stuff (think: laptops, toys, phones, blenders), I am usually hoarding it. It used to piss my mom when I was young, now it pisses my wife off. Some things don’t change with time. :)
Broken stuff piling up in the corner of a room is not seen as a healthy state of mind. But on a good Sunday afternoon, tearing the old electronics down always served a therapy to me. The activity starts with clearing up the desk and the mind. You take out all the tools you feel are relevant (but never enough for the task … you will realize that later) and start inspecting the gadget in ways you have never noticed before. It is like reverse lego: figuring out how to open up a device in the least destructive fashion and how to go about salvaging most parts for later use. Or sometimes you see simple yet satisfying mechanisms like this slo-mo of an alarm clock hammers I recorded.
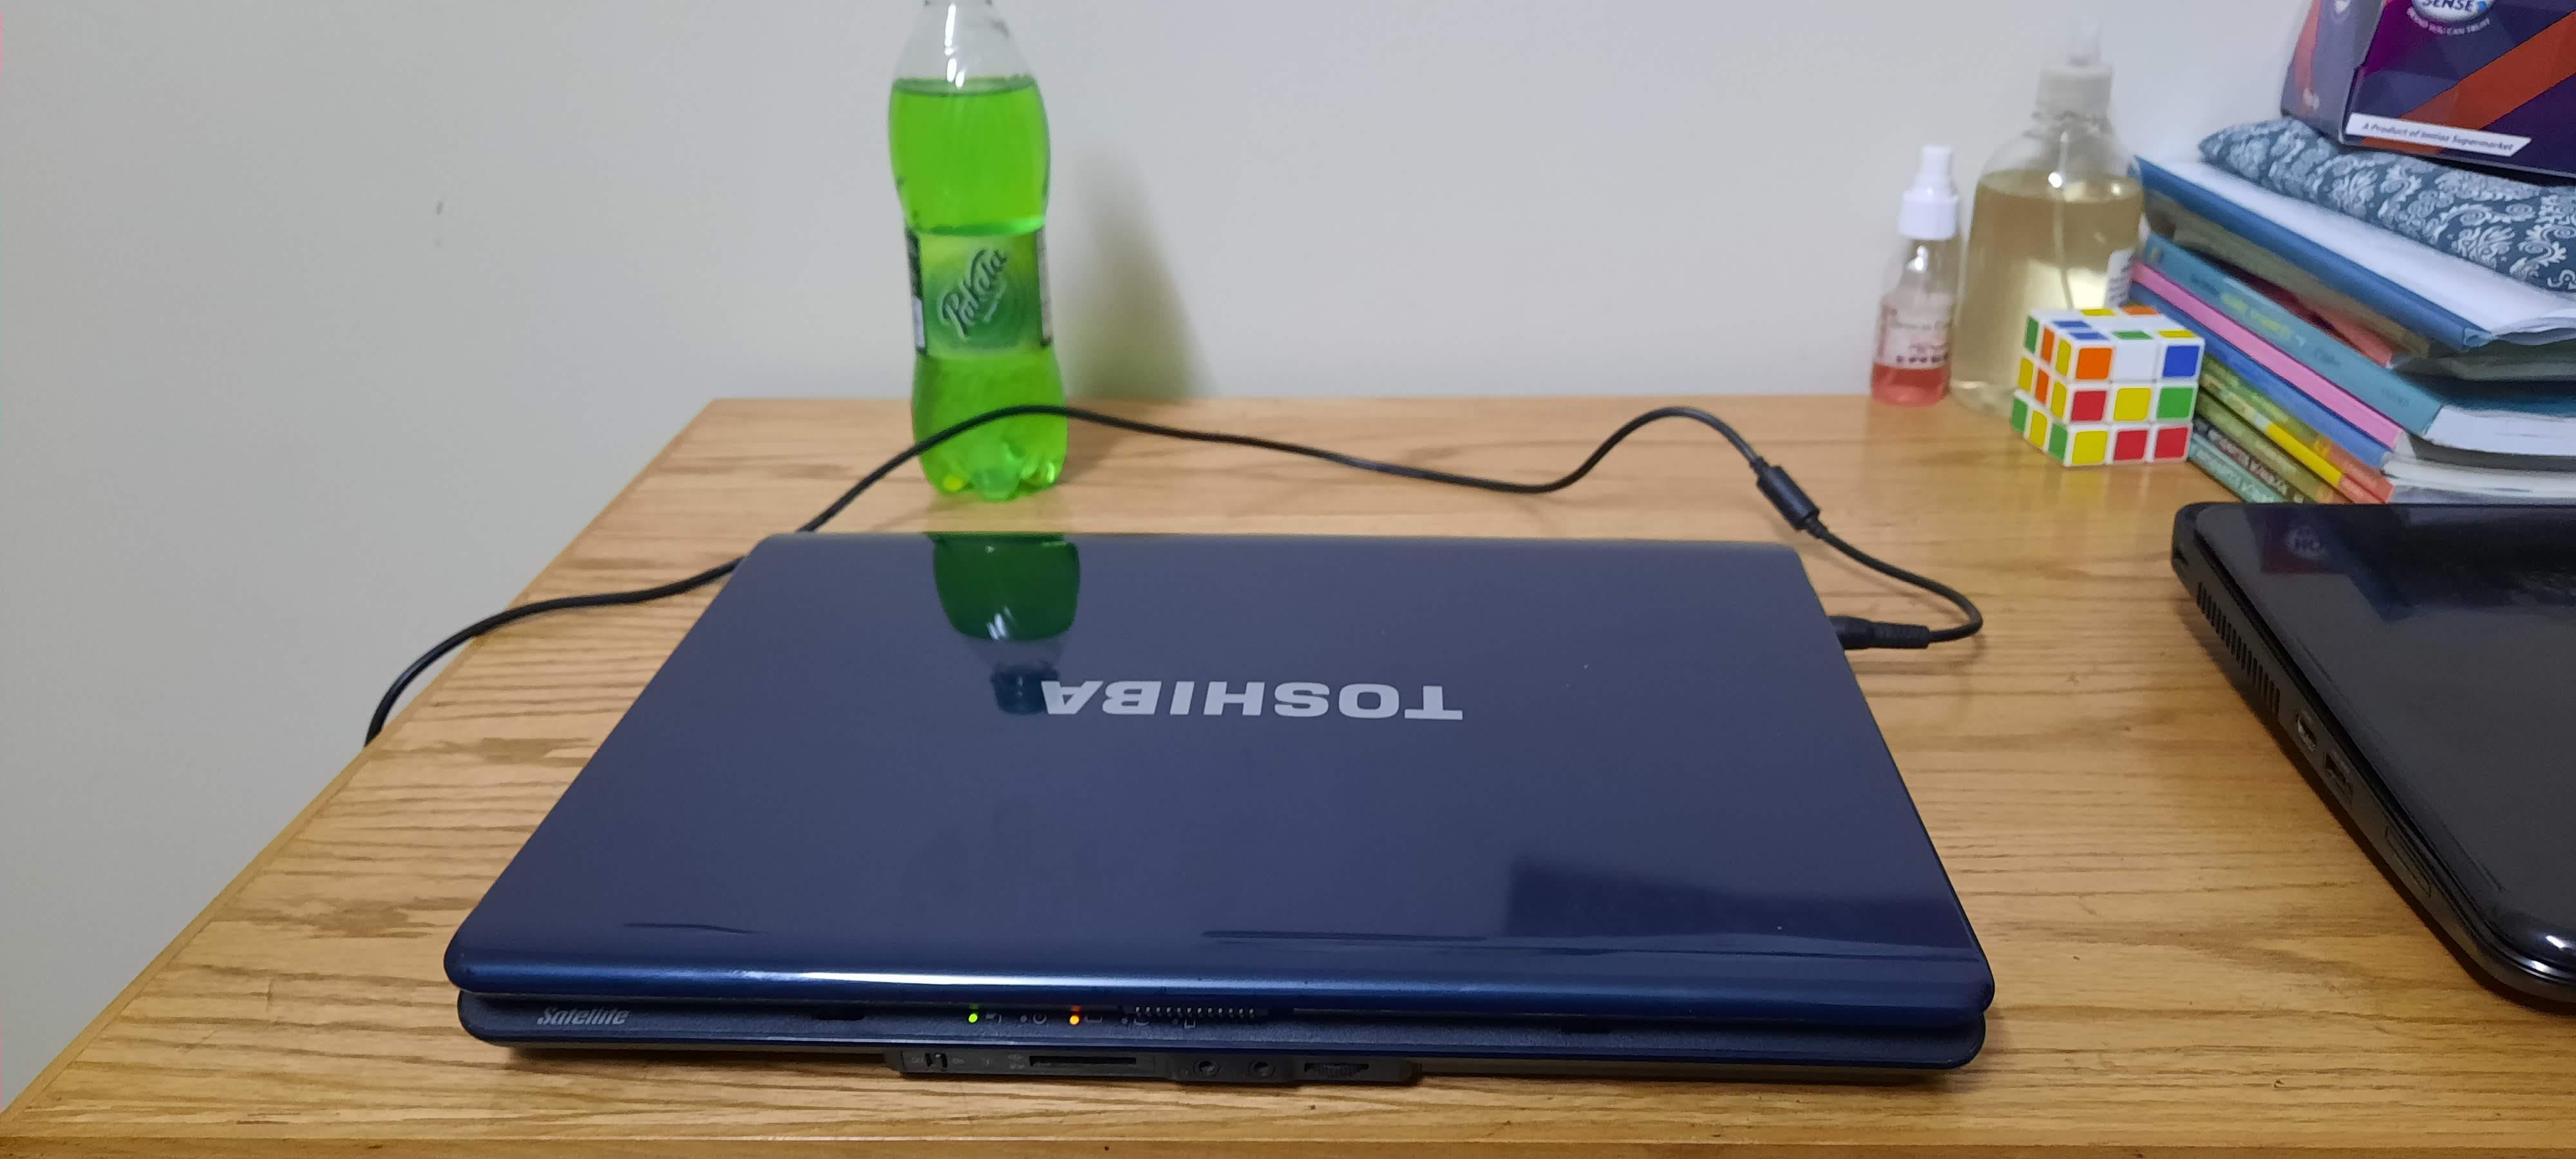
A couple of weeks ago, I found a very old Toshiba laptop in the storage of my childhood home. The batteries were dead to the point of no boot-up. In the lockdown times, when the outdoor play is not an option, I decided to tear it down with my 10-year-old nephew as an educational activity for him and therapeutic for me.
Here are some of the questions/statements my nephew made over the course of the teardown. Ofcourse, I felt like Mr. Miyagi to his LaRusso:
“Chacha Nadeem! Whats inside the battery???” —— Well at this point I had to pry open the battery pack to show him the Li-On cells. I used the voltmeter to show him how to measure voltage across a cell. All of them showed voltage under 3.4V - a sign of dead battery.
“Chacha Nadeem! they (toshiba) have hidden some screws under the keyboard!!!” —— Ah the excitement when I removed a small cover just above the Function keys revealing screws to dismount the keyboard.
“Chacha Nadeem! It has 2GB RAM. Can I use it on my laptop?” —— Well, Why not? unfortunately, his laptop did not have unused slots. We decided to make keychains.
“Chacha Nadeem! It has 160 GB Hard drive! Can I store games on it? May be I can carry to my friends house too” —— Hmmmm, Not bad of an idea kid. We will get a SATA to USB converter and make it work as portable external storage. Probably the HDD has some old pictures too.
“Chacha Nadeem! Can I have the graphic card? I can install GTA V” —— Ooh, now he was getting greedy. It was a nice wish though. Unfortunately, it only had intel integrated graphic card.
“Chacha Nadeem! The screen is useless now” —— Well, The screen was mine to keep. But I had to explain how, since it is a 720p 14 inch screen, it could become a nice wall display. or time to make a magic mirror?
“Chacha Nadeem! Can I plug this fan blower to my battery (9V RC car battery)?”—— It was a 5V blower fan. I gave him an idea to use it with his BBC Microbit. Then he can control the air flow. Its going to be little tough for him to do that in that age. I left it to him to google and ask his way to it. I trust in the inception.
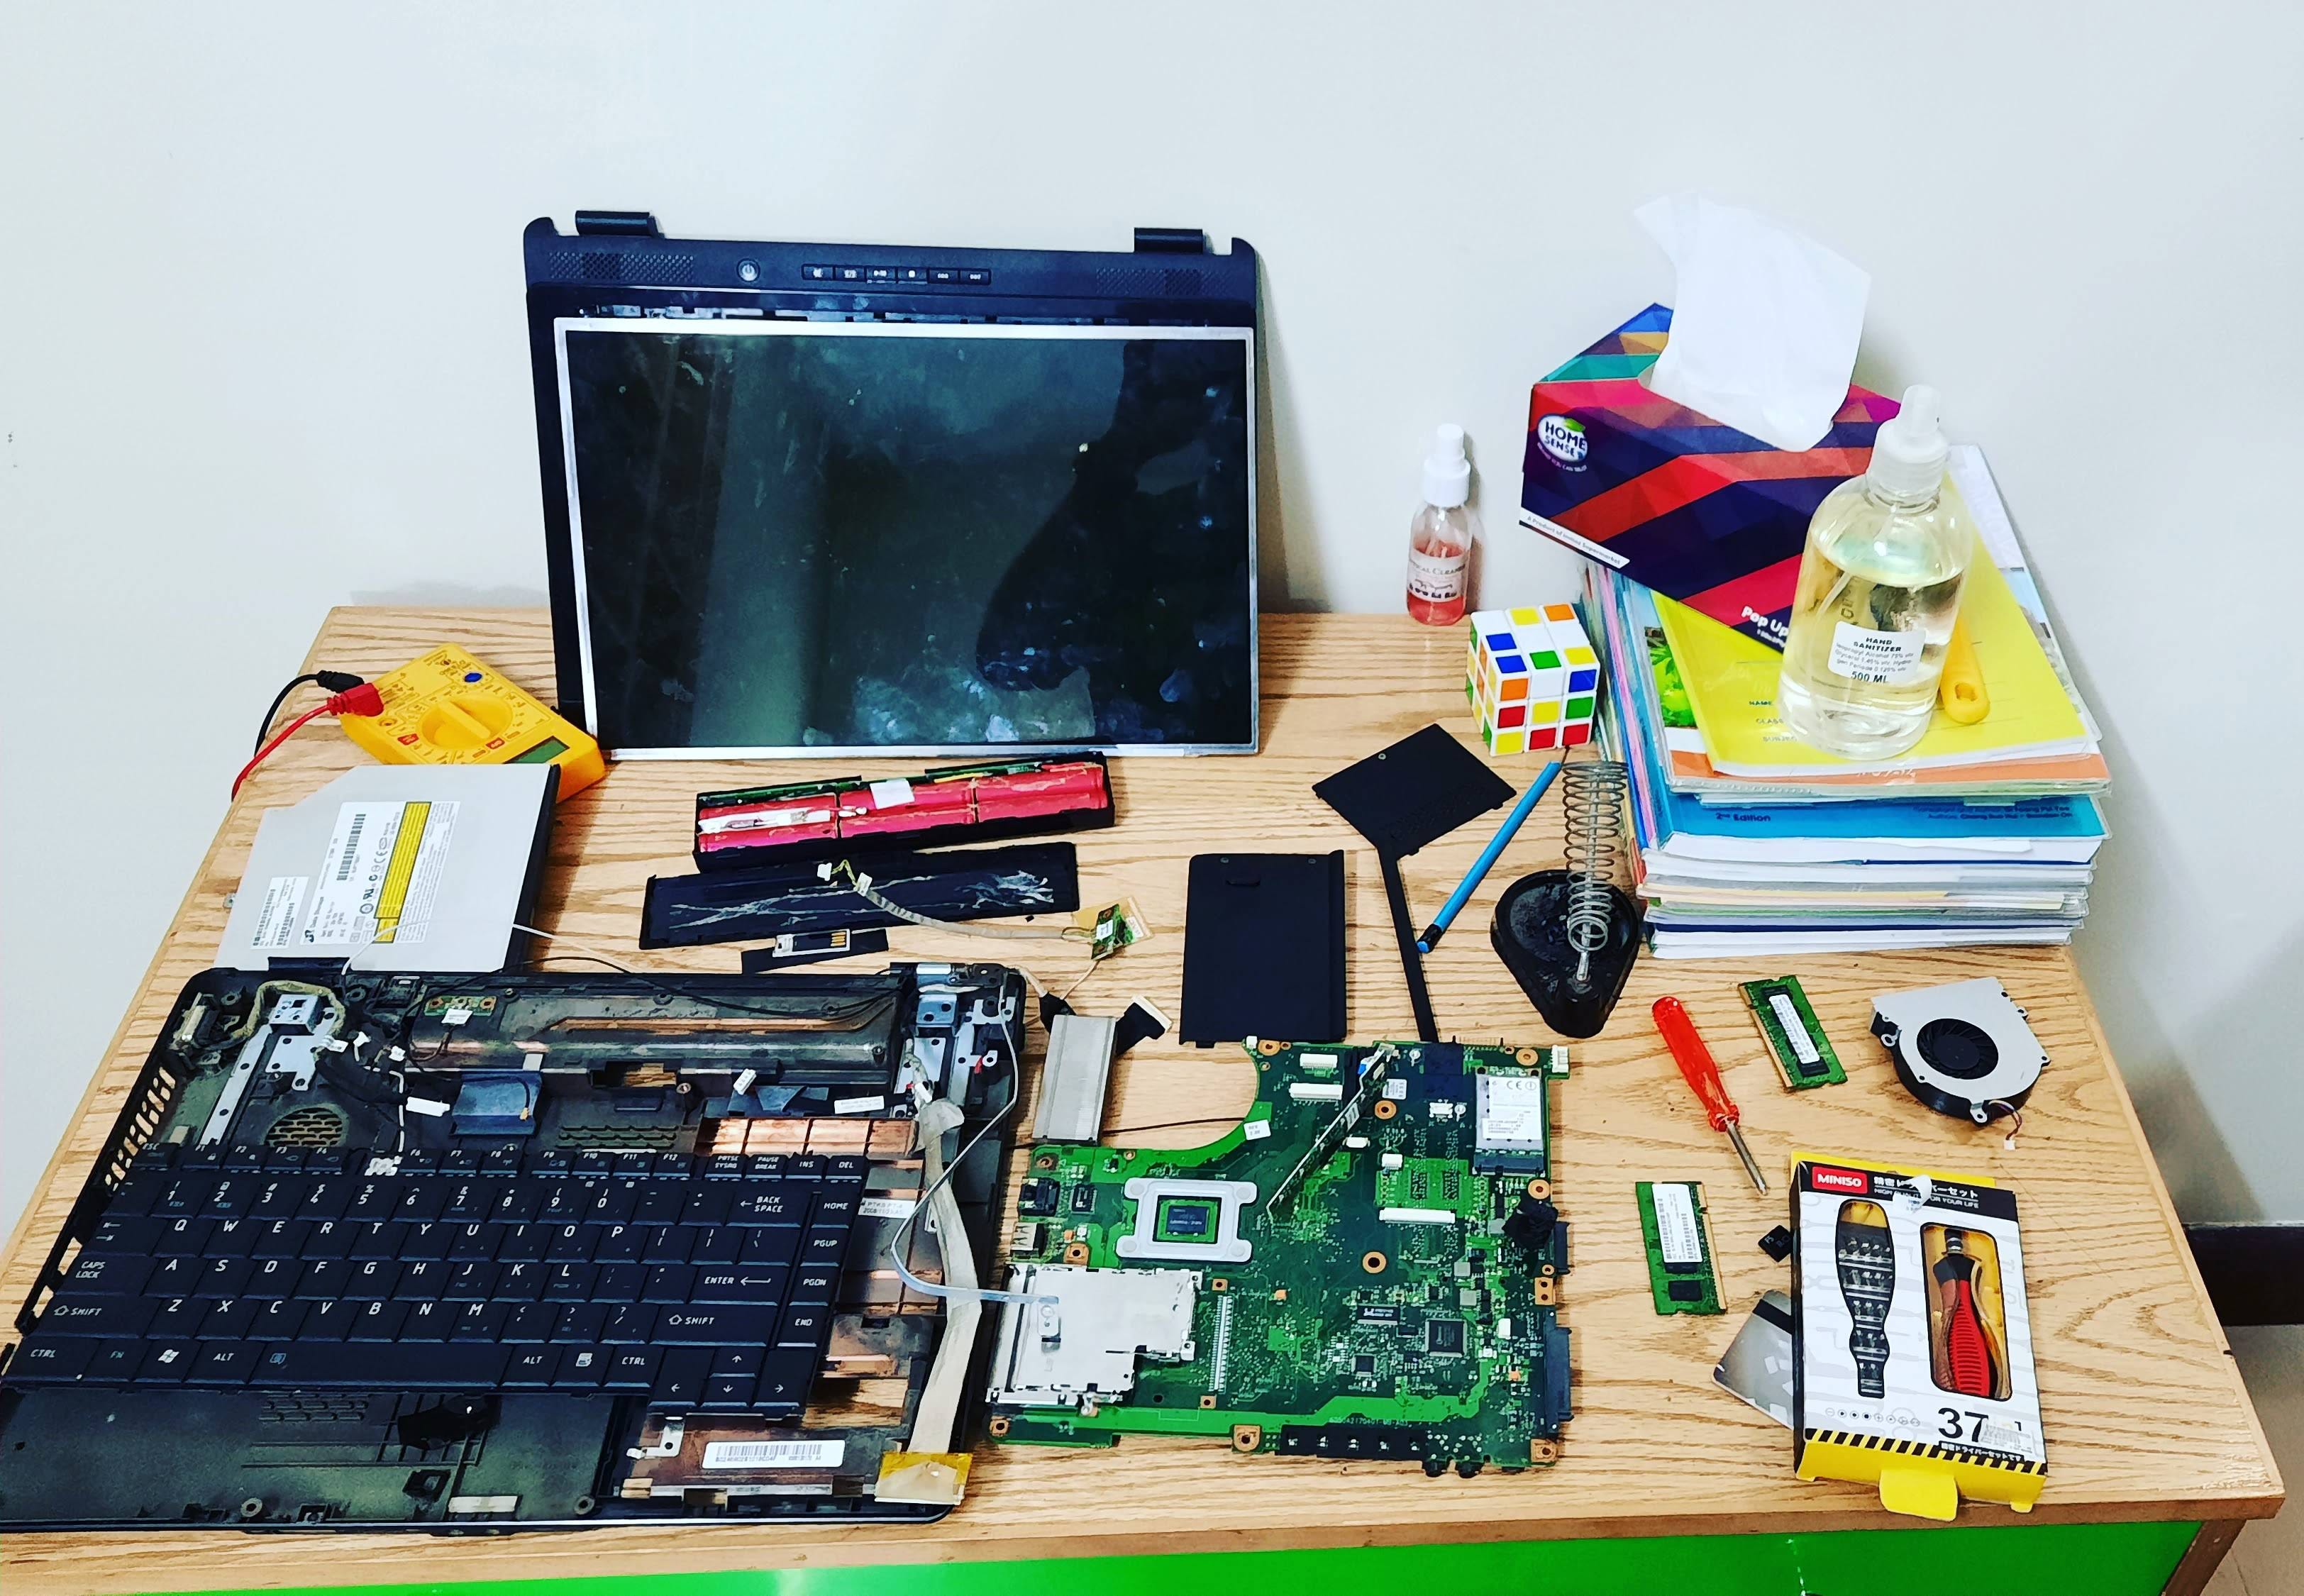
At the end of the teardown, It was a pleasure to see how sneaky toshiba was with hiding the screws under rubber feets (classic!) and glossy looking design elements near the keyboard. I salvaged myself a high resolution screen. My nephew got away with 1GB RAM keychains. But more than that, The teardown persuit provided a bonding experience where we collaborated on sharing ideas on how to go about opening it, what tools to use, how to use them, what to do with the stuff and more importantly, what each component did as a function for the laptop.
While creating things can be rewarding, tearing them down can also be easily restoring.
Stuck in the Plast-er by Nishant Singh
Nishant singh in the last newsletter shared how he quickly 3d printed a planter mold off the “internet” and quickly created a cement planter. Isnt that the future? You want something, you download it from the “internet”. Well, we are getting there and no 3d printers cant print brugers yet. Or can they?
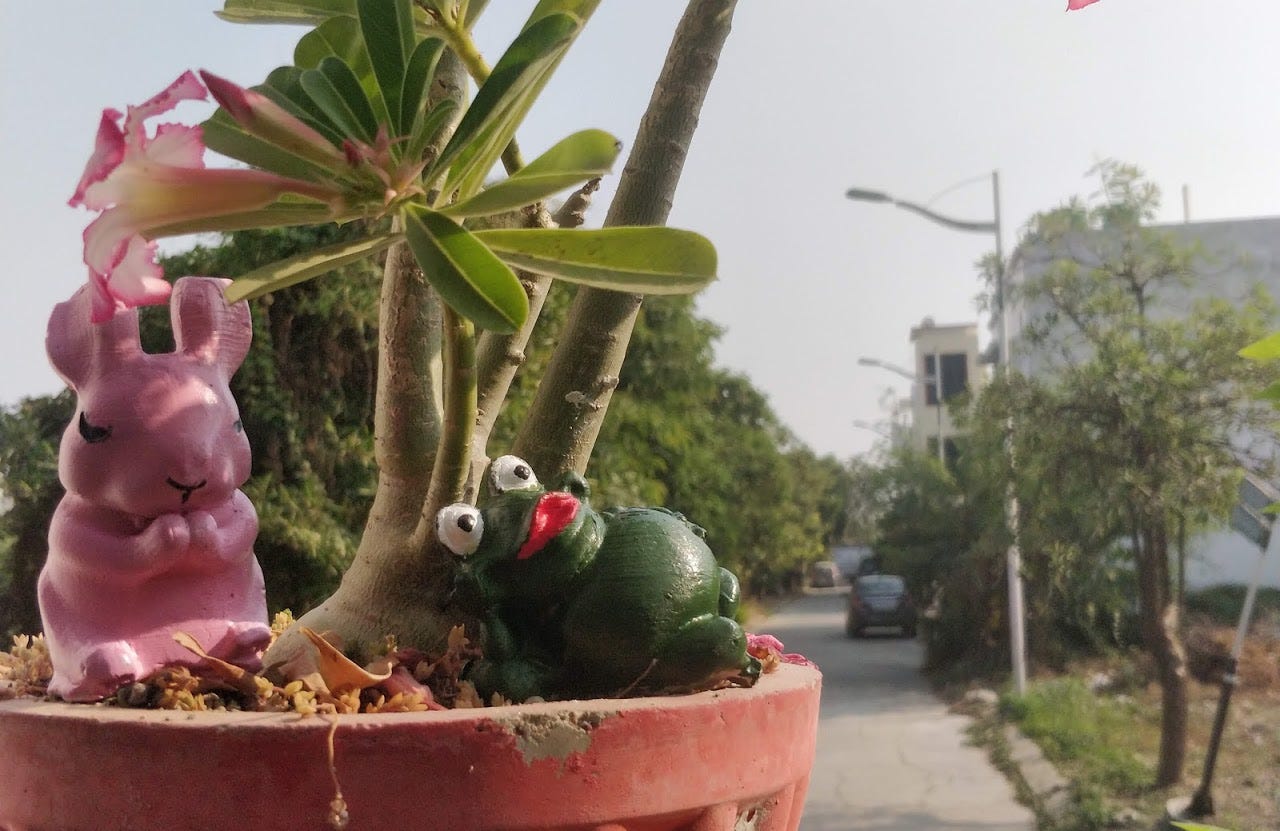
However, Nishant has been very mold-ivated (sorry!) by his results and now wants to create more 3d printed garden figurines to impress his mother. Due to lack of time before he flew to his home, he decided to 3d print the figurines he wanted in the garden. Then it was about creating the molds with silicon rubber using brush molding technique.
In brush molding, silicone mix is created and applied to the object just like painting with the brush. Once the mix has cured after some time, it becomes silicone rubber. Its best to use a release agent before applying the silicone mix so that silicone can be removed easily. The mold can then be filled with plaster of paris to clone the original 3d printed object.
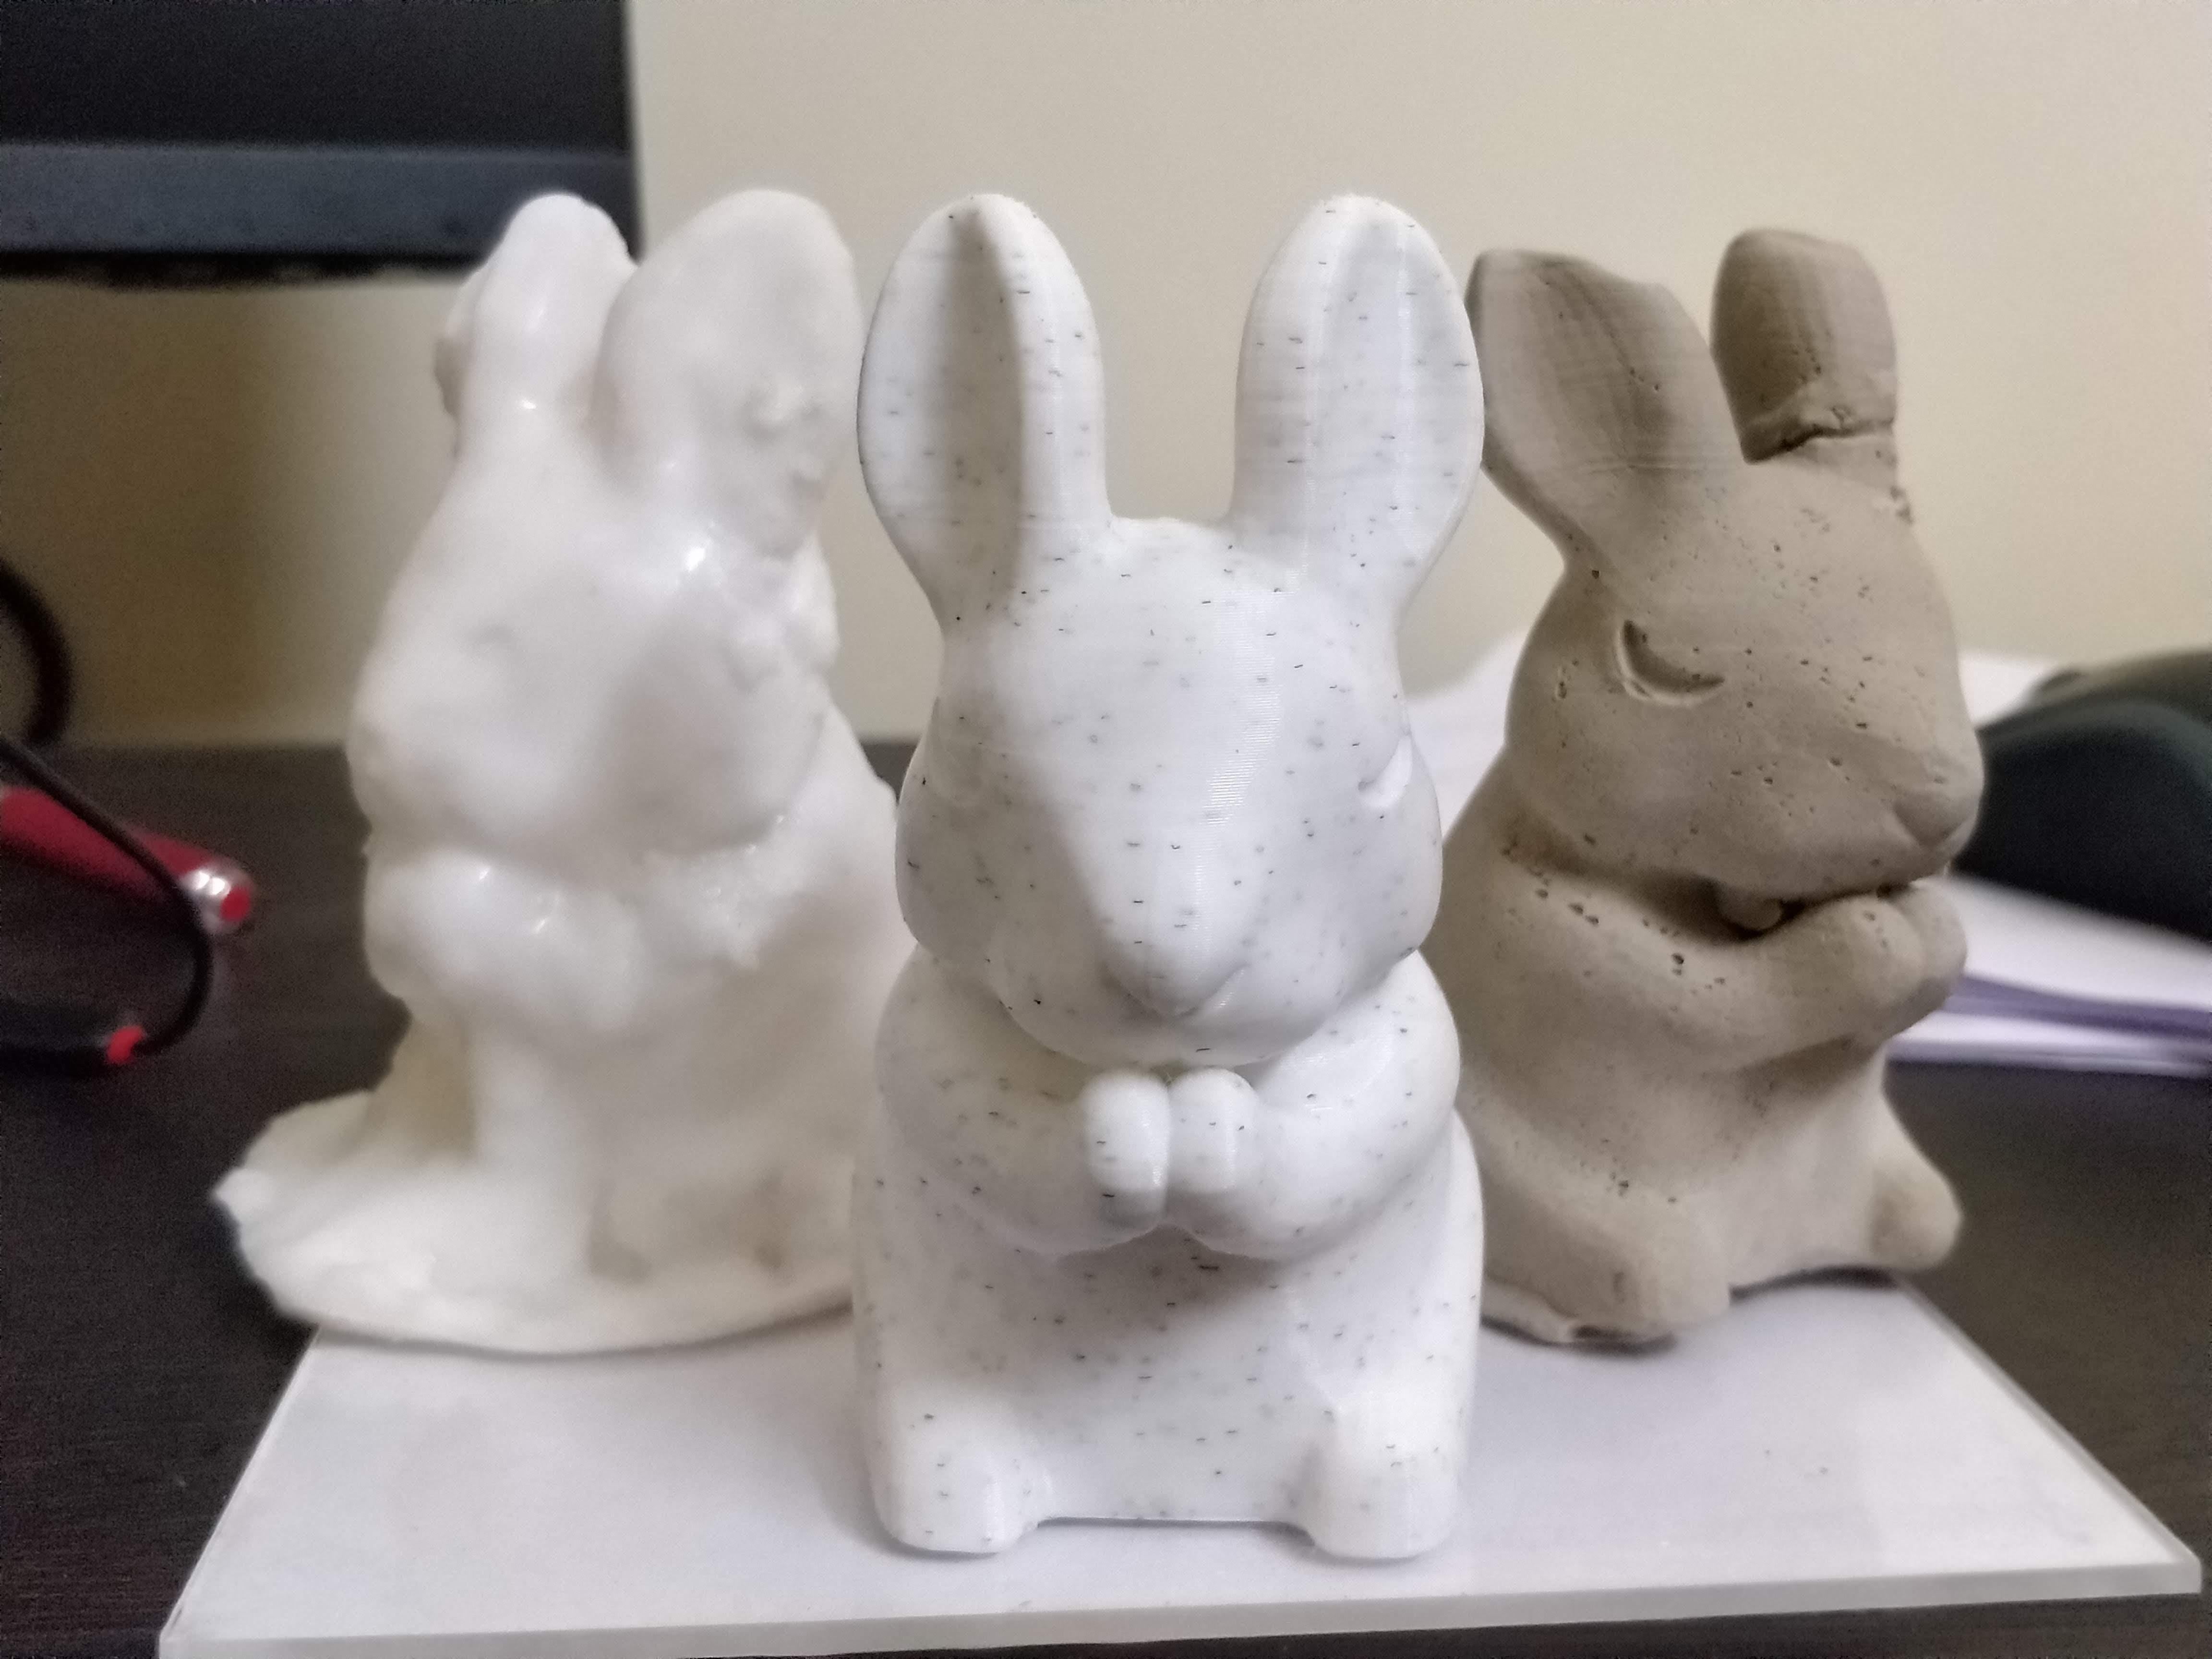
He has documented his complete process here with embedded videos on Brush molding. He shares his tips like applying the first thin layer to capture all features and second coat to make the rubber stronger. The final results are captured well in this picture.
Vanderlust continues from [Aqeel ⚒ Arshad]
Camping in the nature comes at the cost of cosy warm nights, instead it can get very cold and humid inside the van. This we realised in our first trip to Dolomites, Italy. So a parking heater was added to our TODO list.
Well new ones cost quite a fortune , so we decided to buy a used one.
Types of heater
Almost all of these parking heater run using a fossil fuel and working by burning the fuel with a fan blower for heat exchange.
Two types are quite popular with camping parking heaters.
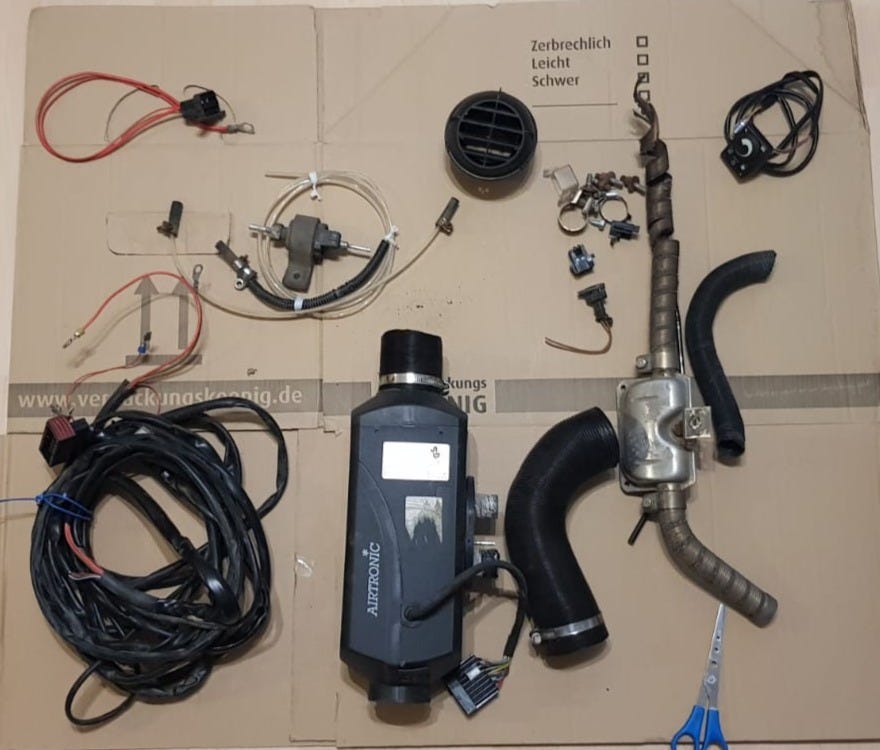
Warm air heater, Uses water to exchange the heat with a blower motor.
Warm Water heater, Uses air from the blower motor to exchange heat directly from the combustion chamber

Due to easy of installation, we decided to go for warm air heater as shown in the picture above. we bought a used one, made by the german company, Eberspächer.
The Challenges
We are still wondering to where to put it. Should it go under the passenger seat or totally under the body of the van.
A quick dry run (not recommended) with power from vans battery and fuel pump todiesel in a bottle proved that heater is in a working condition. But how do we connect the vans fuel tank to the fuel line of the heater.
Oh, And we want to control it via the internet after we 3d print my burger ofcourse.

If you would like to send in your projects and hacks to be part of the newsletter, please do comment below, or email me: a.nadeem89@gmail.com. Leave your feedback in the comments about the content and share it with your people:
Your teardown reminds me of when I was a kid, breaking down anything that had magnets in them, in a quest to build a perpetual motion machine using those magnets xD