


Ejaad-Nama 0x17: Makers are cheap
Ejaad-Nama (Urdu: Letters of Invention). A fortnightly newsletter about Science, Electronics, Makers, DIY, and everything technical. We talk about lemons, acid batteries, and anything in between.


Ejaad-Nama is the word from the Urdu language which means Letters of Invention. Ejaad-nama is about improving scientific literacy and normalizing it. It’s a step towards removing the barriers to learn science and develop further interest and excitement.
Your subscription is the direct positive feedback to me regarding my quality of content and my mission to inspire and motivate students and professionals alike. If you would like to give me that thumbs up, consider entering your email address below.
Makers, Engineers, DIYers are cheap. It may not be true for all and I really don’t have proof for it either. It is how I feel about myself sometimes. My sample set is way too small to conclude on that judgment. But it is how I have judged myself many a time. I don’t think my wife will disagree with it either. Allow me to say why.
I got back into reading habits in the last month. However, reading a book requires some infrastructure: A calm adequately dimmed light for reading which can be turned off effortlessly as soon as the sweet slumber is about to take over. The operative word being effortless.
I have a very old kindle e-book reader version that does not have front lights. While normally e-ink display is pretty readable in low light conditions but they suffer from huge performance issues under no light conditions. Hence, to solve this “problem” I had two choices: Buying a reading light or a new kindle.
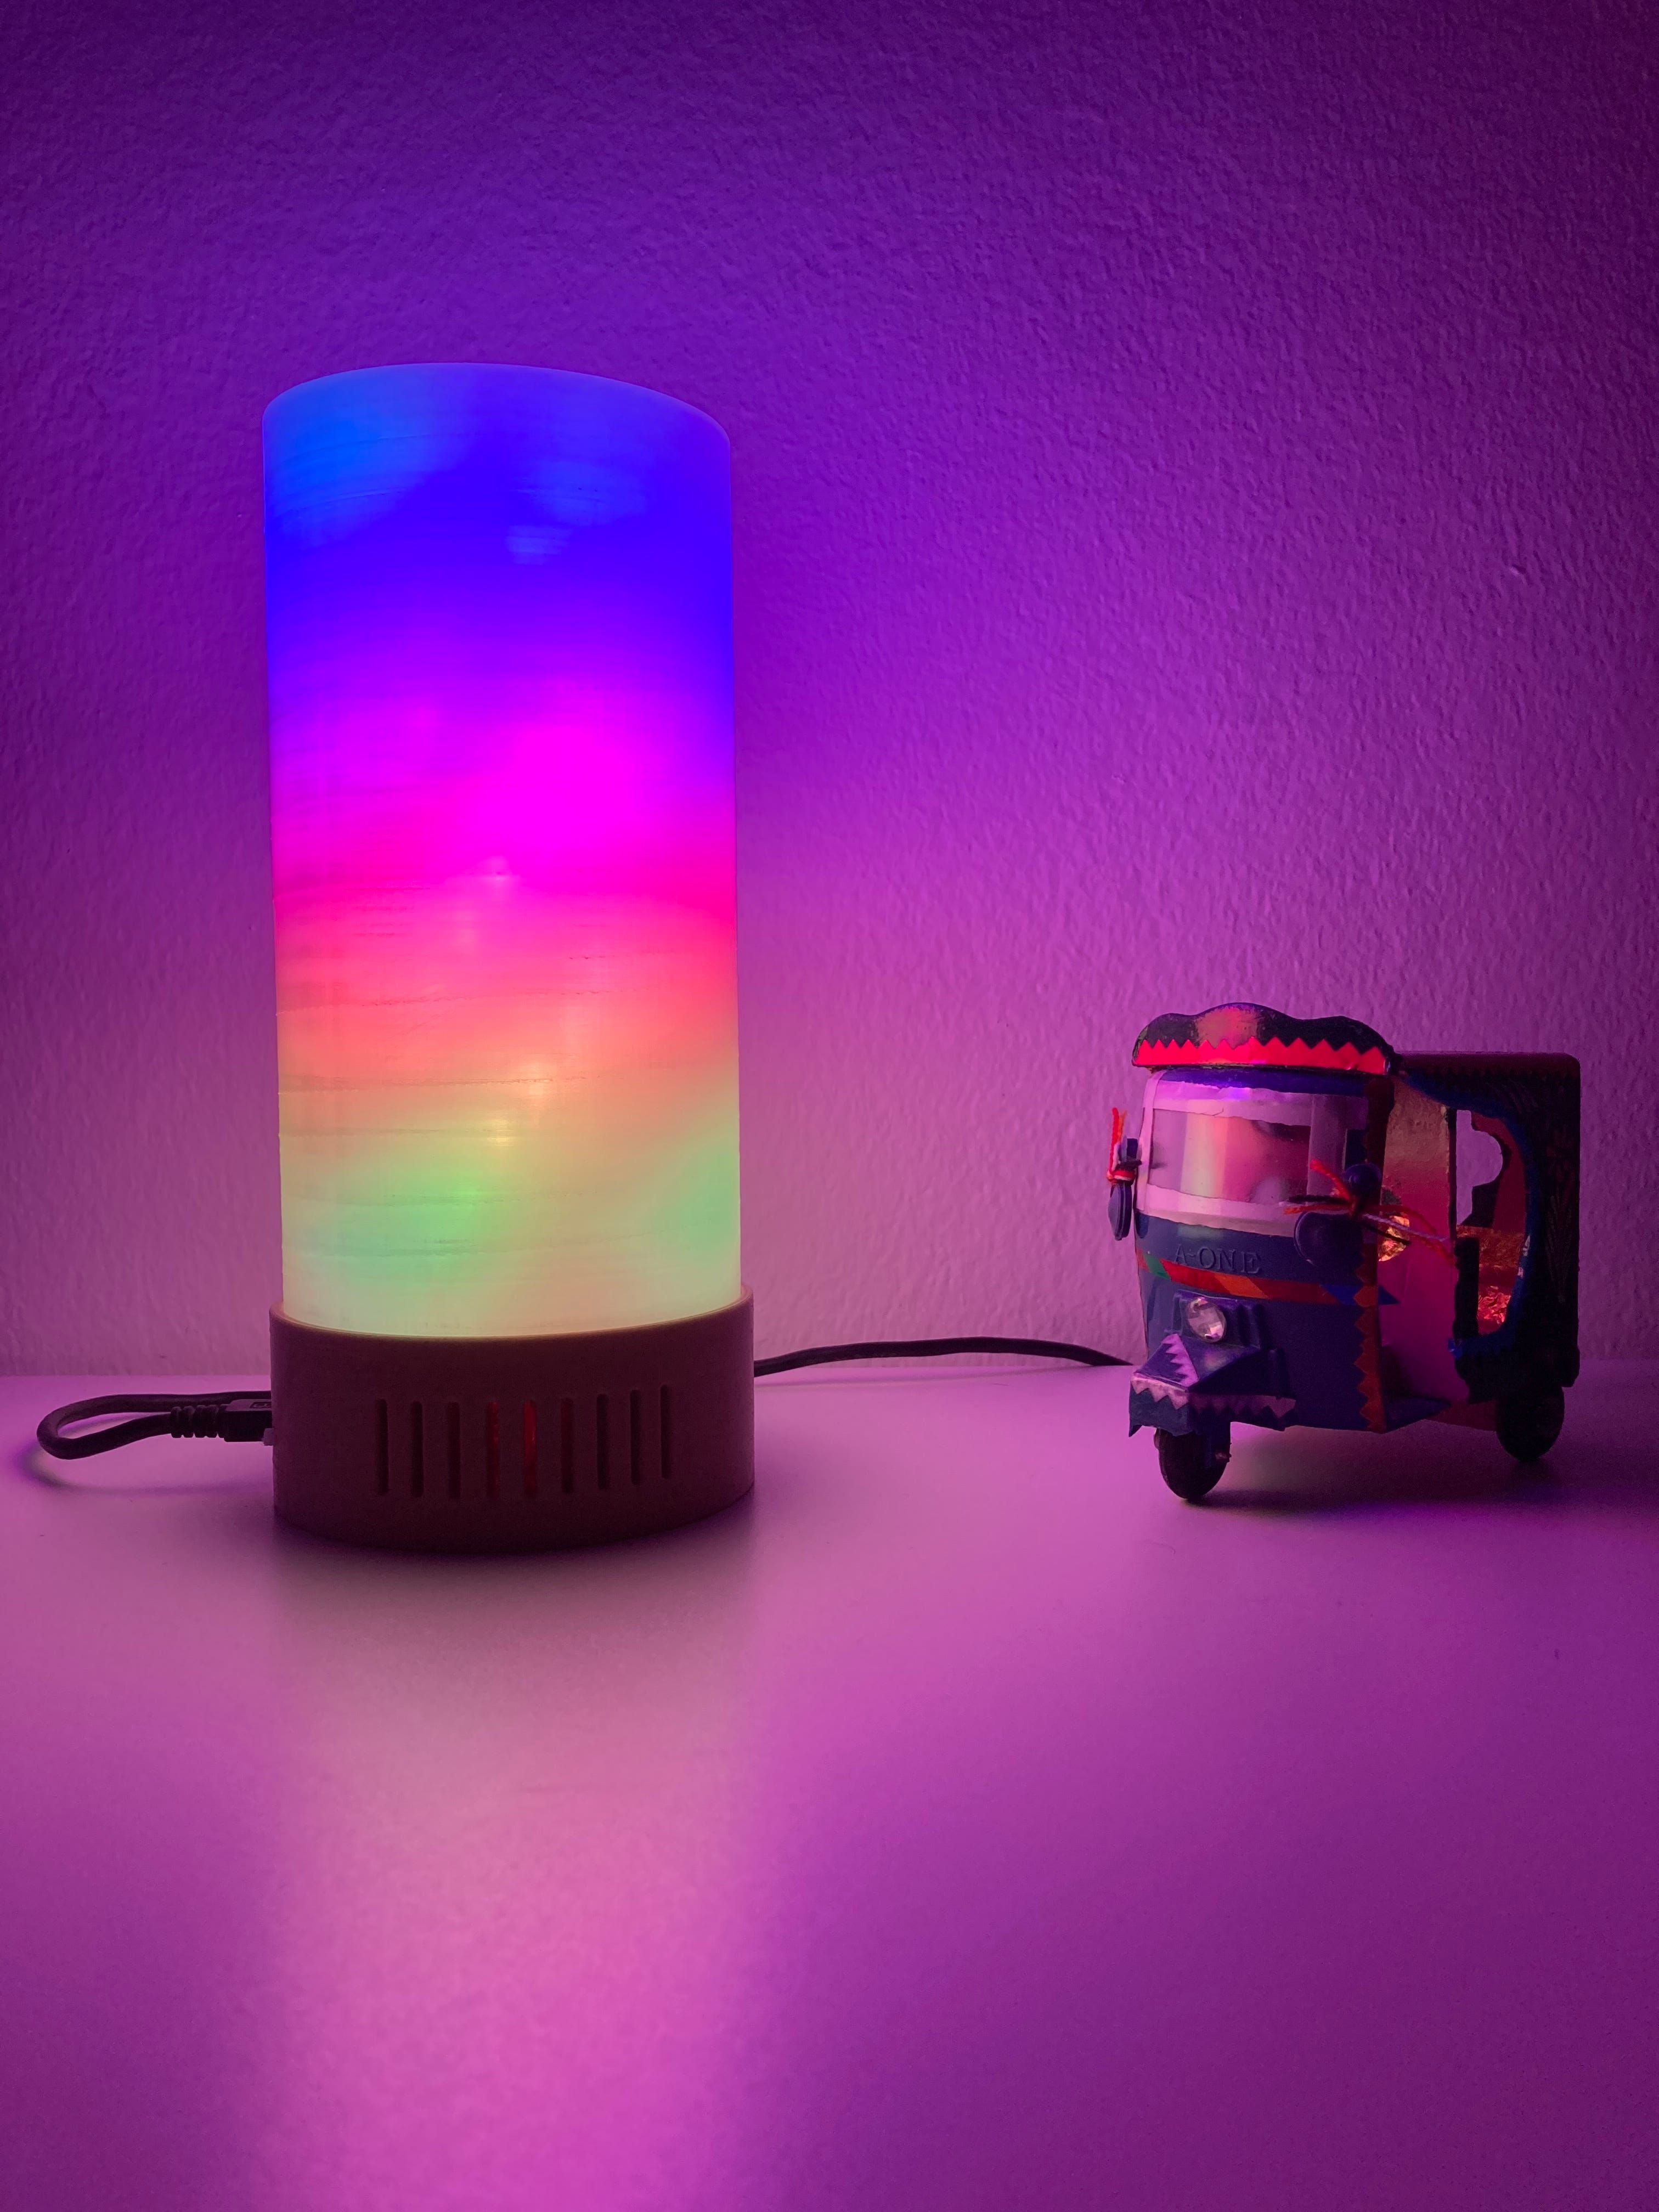
I would do none of that. But rather, I decided to make a reading light. After all, I am an engineer (Still trying to convince myself). Buying a reading light is preposterous. We must make it. So I would carry out all the usual work: Go over 3d print catalogs of all the reading lights other people have done, buy new filament, buy the components for the reading light and find a suitable power supply. After spending quite some time and money, I ended up making a mood night light from the user BreaksNMakes. (He has documented all the build details in the link). I ended up buying the digital files from the author.
The design is well thought of: It has slots for Arduino Nano and a Voltage regulator to step down voltage from any wall wart you may have lying around to 5V. The top cover (diffusor) screws onto the base and tolerances are perfect for 3d printing. The column in the middle provides a solid skeleton for the LEDs. All this provides an easy assembly and disassembly in case of updating software or swapping LEDs. There is a one-push button that allows you to toggle different modes of lights such as a color cyclone or reading mode. Designs like these are ideal in the future where users buy digital files and the rest is done by their 3d printer in the kitchen.
Although this lamp looks like a simple design, the attention to detail in the model makes me think that the designer might have gone through multiple iterations. The Arduino code uses some smart tricks: The timer-based interrupt catches the button press. It uses software reset of the Arduino to go back into the loop to start a new lighting effect and EEPROM save and load to remember the last lighting effect that was on. The learning curve cannot be underestimated.
Obviously, the final build was not at all cheap compared to a proper reading light I would have bought if I take into account the time I spent.
Maybe it never was.
Two tools to fix life by Aqeel⚒Arshad
One needs only two tools in life to fix things as goes the saying, WD 40 and duct tape. If it's stuck and supposed to move use WD-40, otherwise use duct tape. Although not everything can be fixed, these two tools will take you a long way in fixing things. You never know if your 3D printer will be a break during shifting and duct tape might save it. Not always.

My love for fixing broken stuff brought me to a broken 3D printer from eBay. The person selling it told me that the frame got cracked during shifting and he tried to fix it using duct tape. Although looking at the picture above, one can believe that it's fixed and should work for the rest of its life. 3D printers are precision work and cannot tolerate a cracked frame put together by a mere duct tape, leading to a variable offset each time its Y-axis moves. After picking up the Printer, I removed the duct tape to reveal the cracked balsa wood frame. Now, with the failed duct tape hypothesis. I still wanted to fix it for cheap and with limited tools available. Below is the list of the hacked-up tools I used:
A PCB ruler, to hold the cracked frame
Quick fix glue, to stick the PCB ruler to the frame
Screws as the secondary security mechanism


External Links
Teardown of Bowling Pinsetter
Have you ever gone bowling and wondered who the “Magic People” are that set up the bowling pins perfectly? Who throws back the bowling ball back to the rack? Do they not get hurt or tired by the forceful punch of the bowling ball? One of the most fascinating parts of going bowling is looking at the machine that sets the pins up. Jared Owen is a youtube that creates animation to explain how machines work. He did a video to explain how a bowling pinsetter machine works and the mechanisms are nothing short of education.
If you would like to send in your projects and hacks to be part of the newsletter, please do comment below, or email me: a.nadeem89@gmail.com. Leave your feedback in the comments about the content. and subscribe here, and share the newsletter with your friend.