


Ejaad-nama 0x08: This one is a light reading.
Ejaad-Nama (Urdu: Letters of Invention). A fortnight newsletter about Science, Electronics, Makers, DIY, and everything technical. We talk about lemons, acid batteries, and anything in between.

If you have not subscribed yet, here is your chance. Add your email and click the subscribe button. (The email may end up in your Promotion or Update tab. If you see that happening, take an appropriate action).
—————————————————————————
Today’s newsletter is going to be light reading. And you will get this pun in some time.
A couple of weeks ago, one of my friends and an avid reader of this newsletter, sent me a picture of a minimalistic floor lamp. The retail price of the lamp was too expensive for him to buy. He asked me if I can make it in less than half of the price. A light bulb appeared over my head (sorry for the silly pun again), and the challenge was accepted.
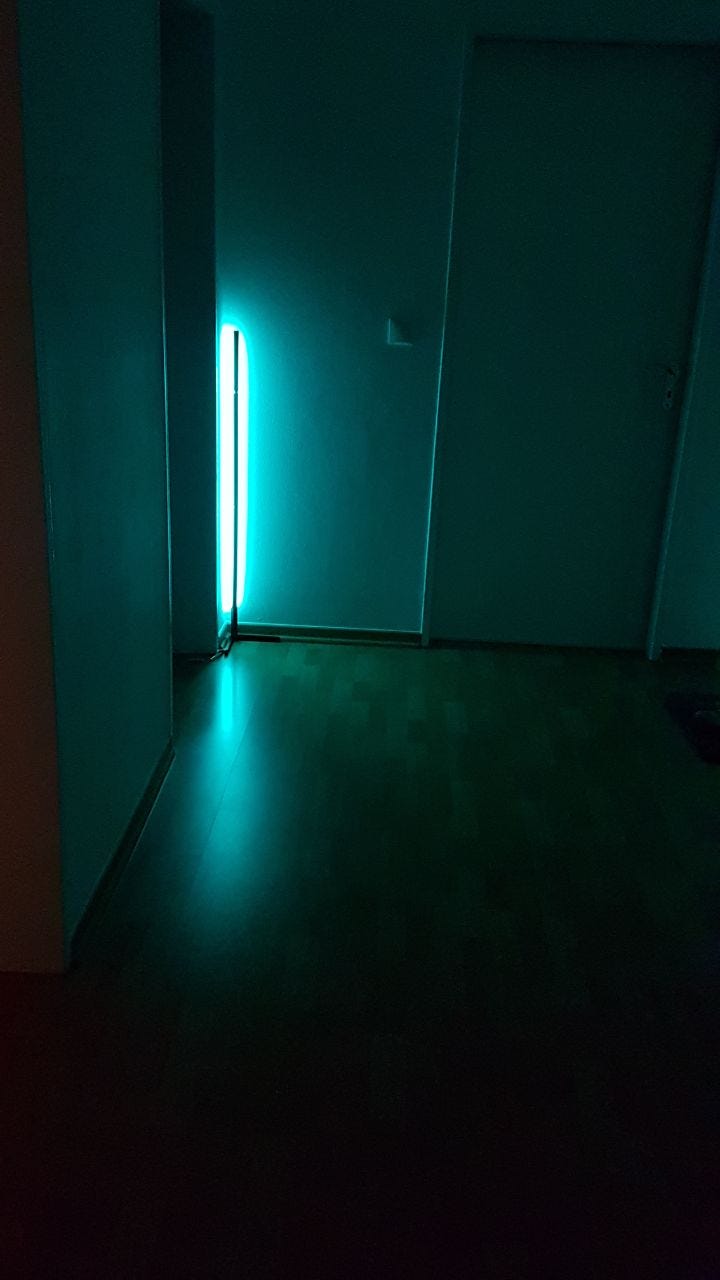
Here is the outcome of my work. I will go through the process, the print fails I had, some hacks I found useful while making this.
The lamp occupies the only empty corner of my hallway. (excuse my amateur photography skills). However, the lamp already has given the hallway a very eerie feeling and makes one think about what excitement/horror behind that door could be lurking. It also provides my hallway a StarWars-Esque futuristic look with a glowing lightsaber at the end of the hallway. I guess you will have to use the force.
The process
I started building this by designing the led bar. Since my printer can only print max 22 cm in x and y direction, I decided to print the led bar in 5 sections of 20 cm each. Each section is modeled as standard aluminum led profiles. Since I wanted them to be black, I designed my own. I had some led diffusers laying around which are semi-transparent plastic covers that scatter the light. Diffusion topic requires its newsletter edition in the next weeks.

The next challenge was to connect all these sections to make a 1 meter perfectly straight bar. I realized that these are 3d printed parts. 3d Printers melt the plastic at 210 degrees and lays it over layer by layer to create these structures. The layers are stuck together after they cool down. I used this property to bond my sections together. This was done by heating by soldering iron to 210 degrees, melting two ends of my sections, and pushing them together. In the next iteration, I plan to leave an extra bit of plastic so I can use it to bond sections together from the inside.

The base of the lamp consists of an LED driver, and an infrared receiver to control the LEDs. I wanted the LED electronics to be inside the base. The wires to the power supply would then come out from the back and hidden behind the feet.

The whole project was easily made in the budget. However, this was the first iteration. Some improvements that are required are better light diffusion, stronger and heavier base so that it doesn’t topple whenever you hit your toes. May be sand and spray paint in matt black to get ultra finesse. Stay tuned for more in the next weeks.
However, so far, I have been de-lighted with this. (Sorry again for the bad pun)
—————————————————————————
World-war and the Sports of climbing using the Iron paths by Aqeel ⚒ Arshad
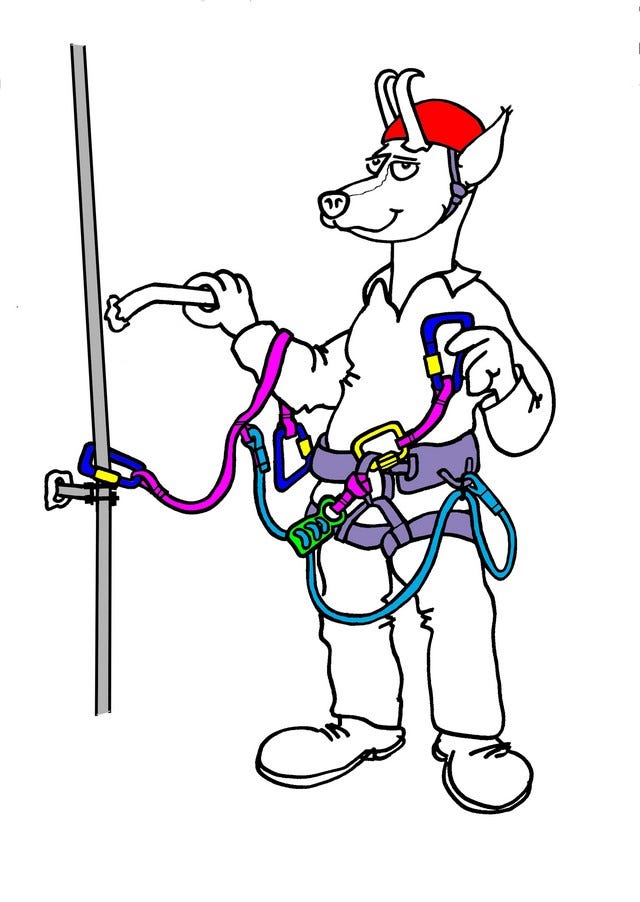
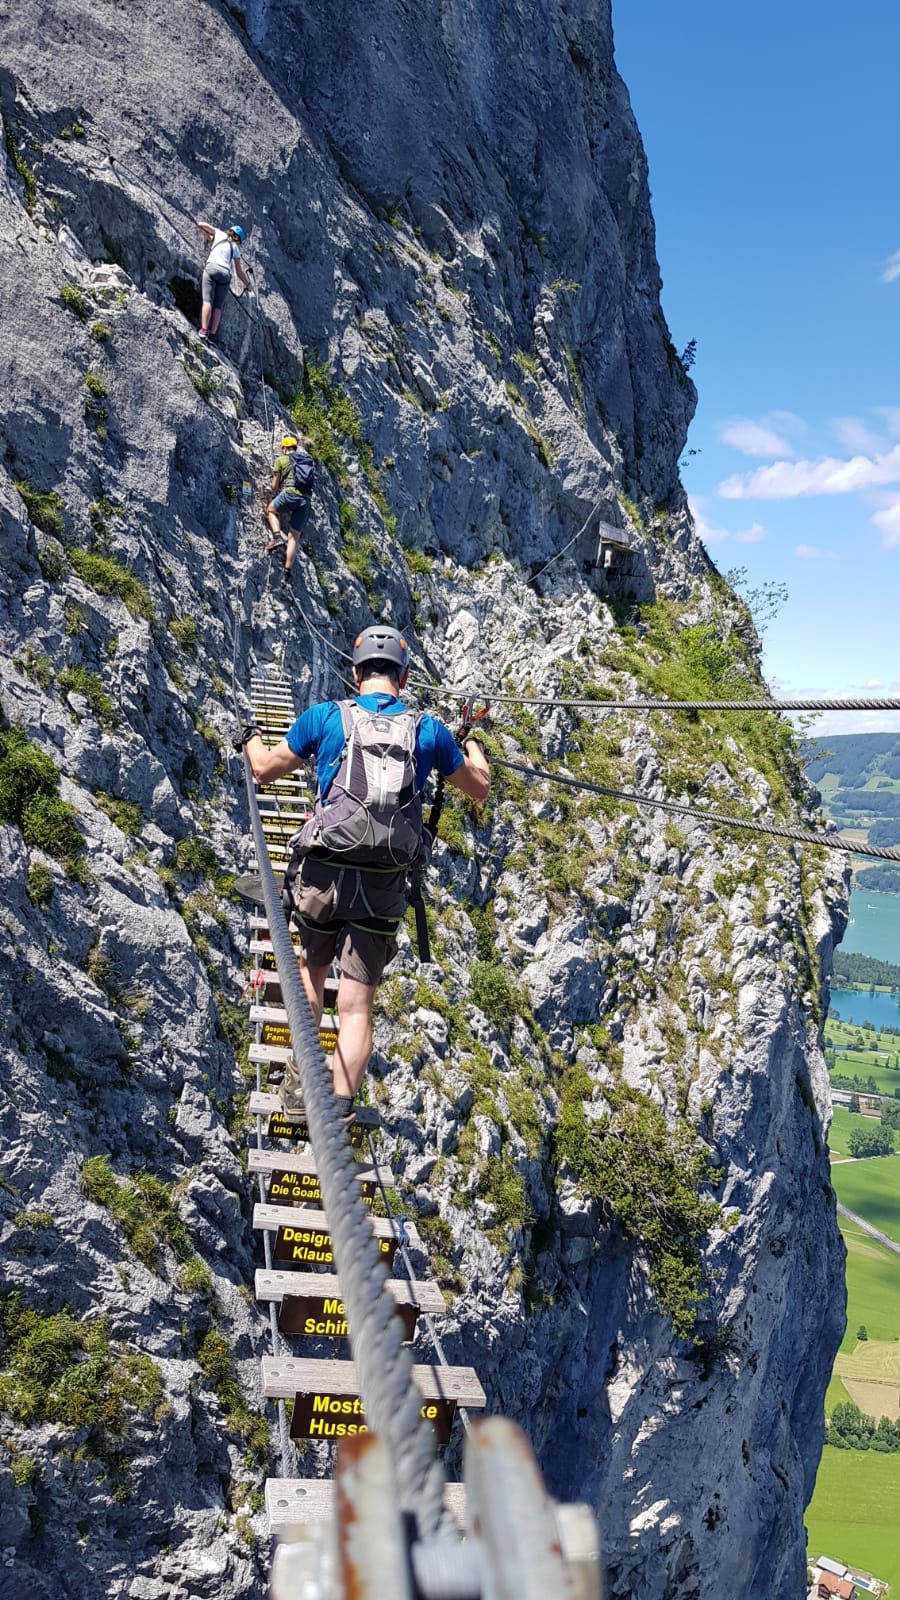
Via ferrate, Italian for Iron path is a technique for climbing. It uses steel wires and ladders attached to the rocks. The climbers fix themselves to limit any fall. Via ferrate or Klettersteig in the German language have existed for centuries but got popular during the world-war-1, when several were built in the Italian region of Dolomites to provide routes for the movements of the troops. Ever since the world-war ended this has become quite a popular sport. This is the equipment one needs:
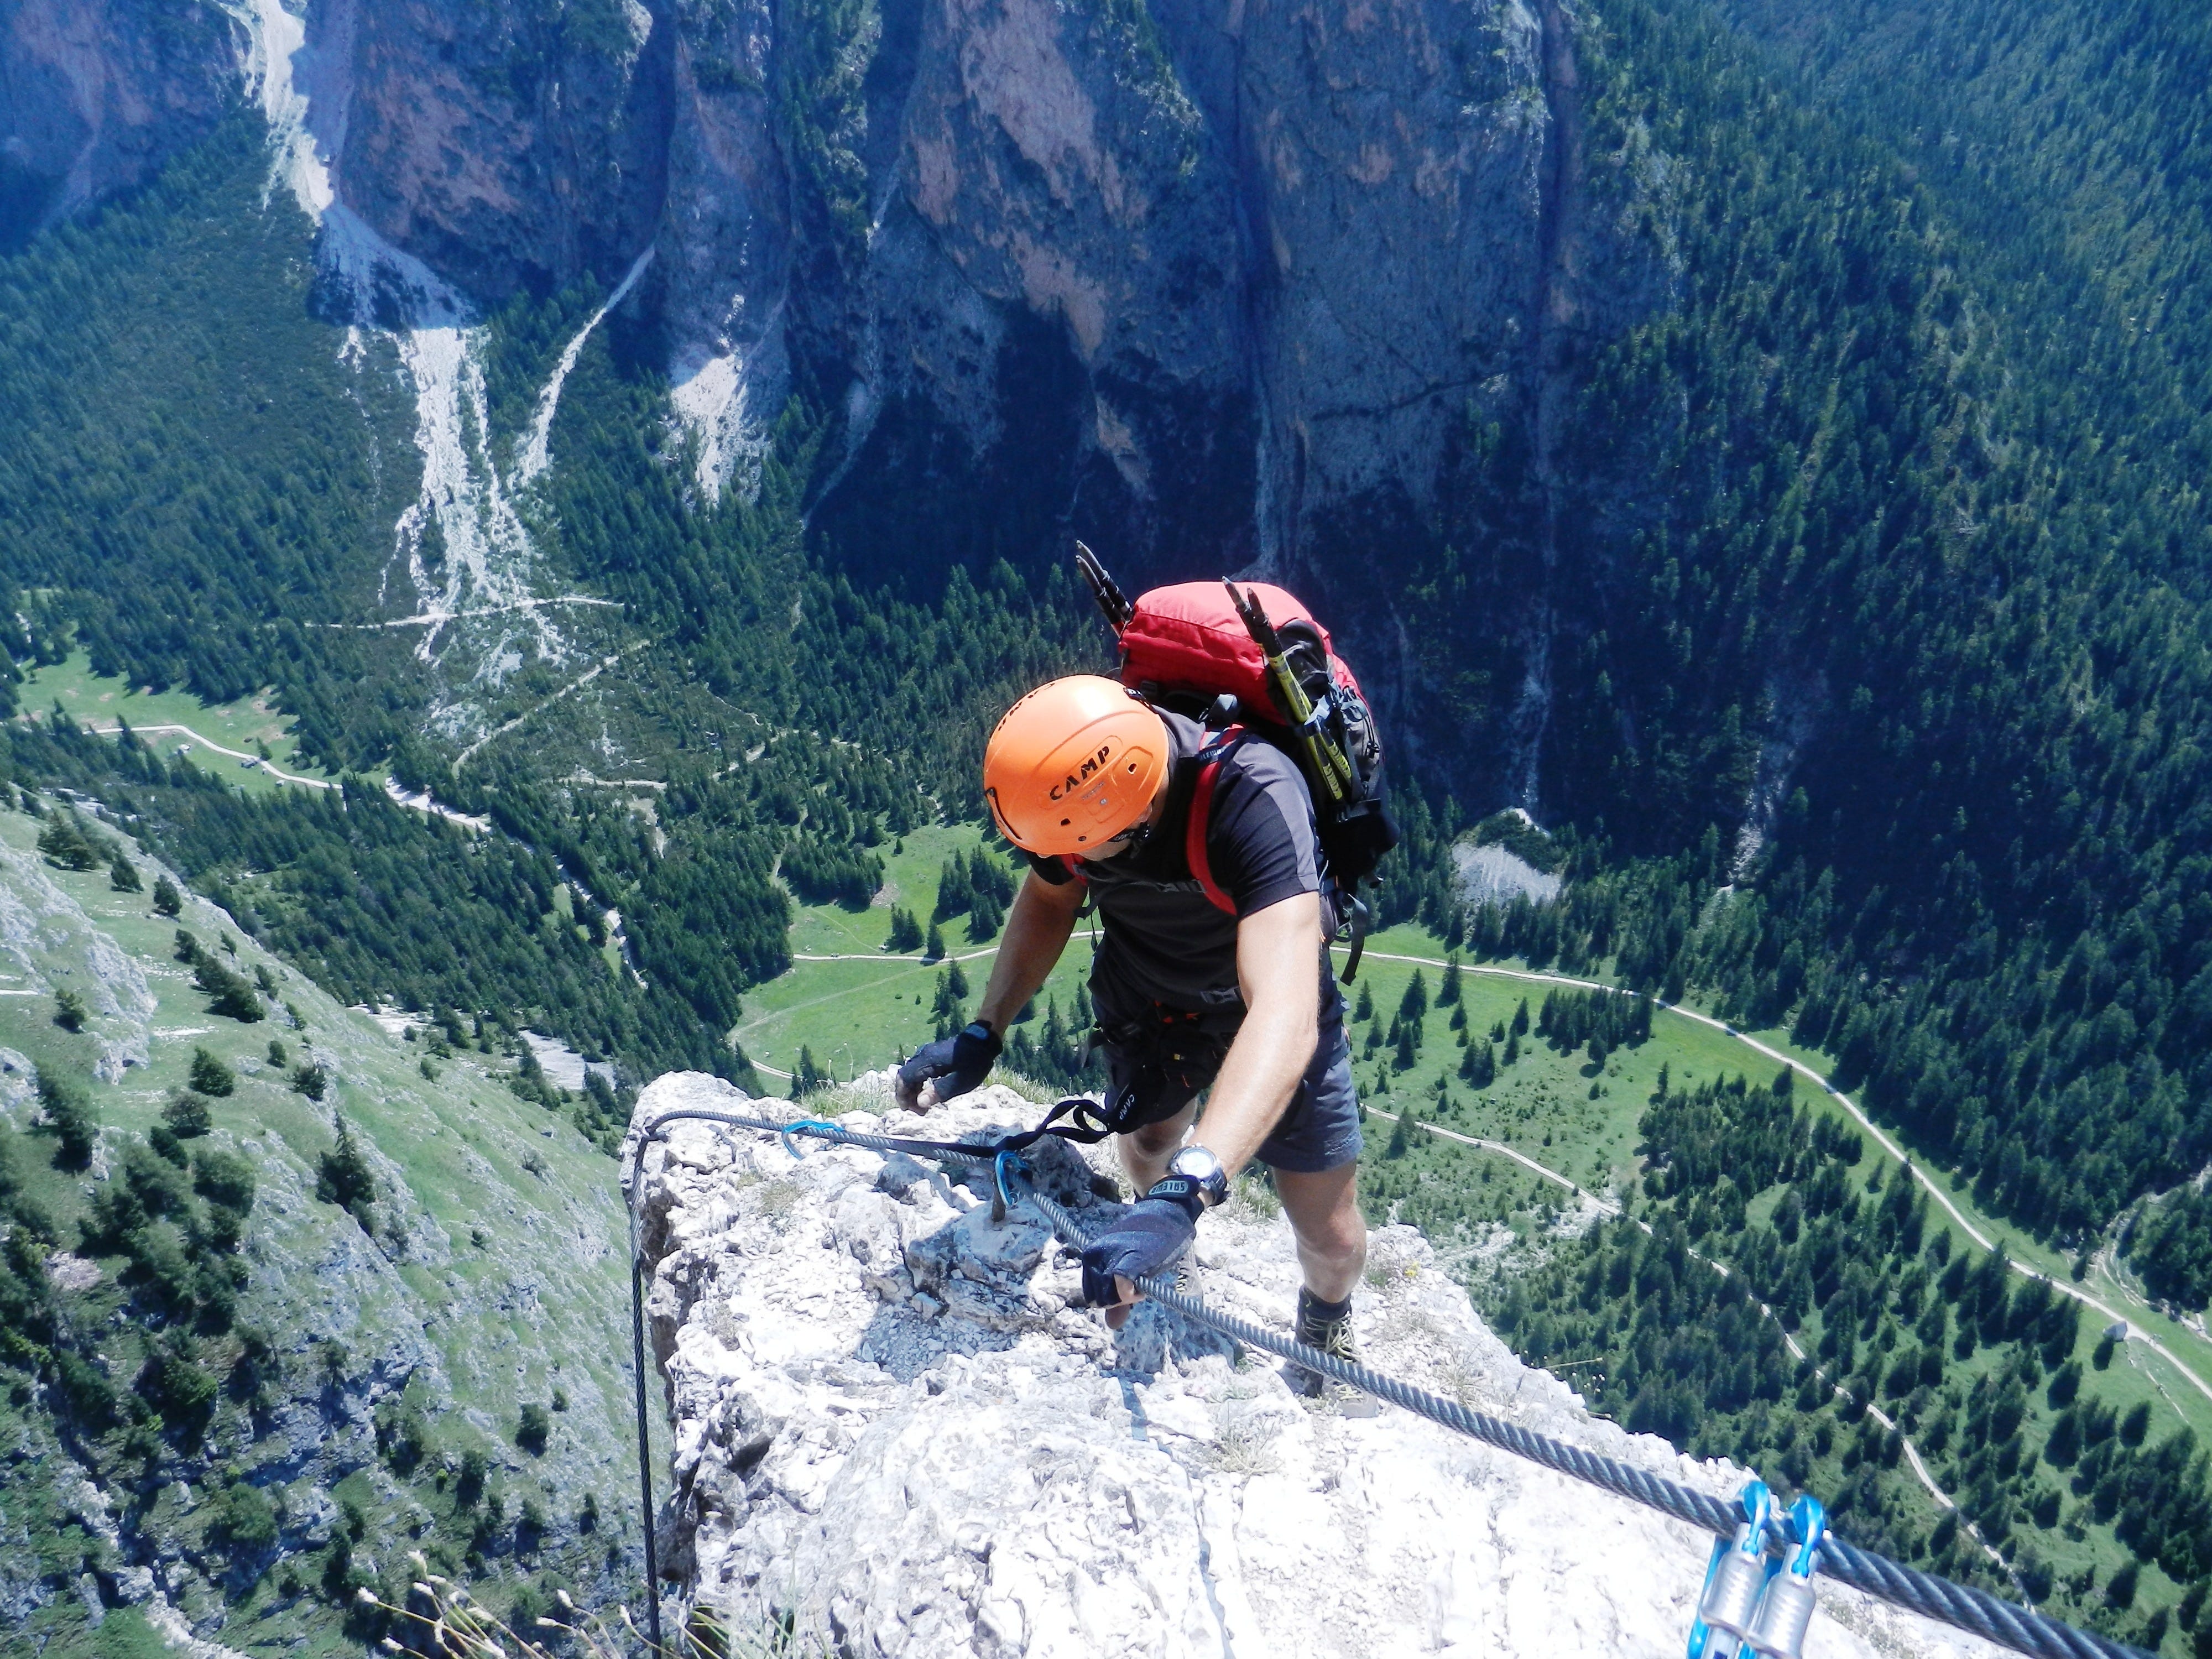
Heres how Via Ferrata looks like (Picture from Wikipedia):
Safety of the sport
Using simple ropes to protect yourself from the fall in the event of a slip can be harmful and even nasty. Although it looks very unsafe, a lot of research over the years has led to better and safe equipment. The equipments are categorized as Personal Protective Equipment(PPE) must certify to safety standards to be used by the climbers. A via ferrate set consists of a Y shaped lanyard and two carabiners. The lanyard has a shock-absorbing mechanism. This system absorbs the energy of the fall progressively as the climber is falling. It consists of a built-in woven inner core that expands during the fall to ensure that the fall arrest force is significantly reduced. This helps keep the climber safe as compared to the older technique of using a fixed-length rope. The latest via ferrate set uses progressive tearing during the fall. This means the woven core tears up as the person falls absorbing force of the fall. The only drawback of this is one cannot reuse this and also one must not continue the rest of the climb.

And Finally, A click from Aqeel on the Via Ferrata:
—————————————————————————
Leave your feedback in the comments about the content. Don’t forget to subscribe: