


Ejaad-Nama 004: Gold at the end of the rainbow
Ejaad-Nama (Urdu: Letters of Invention). A bi-weekly newsletter about Science, Electronics, Makers, DIY, and everything technical. We talk about lemons, acid battery and anything in between.

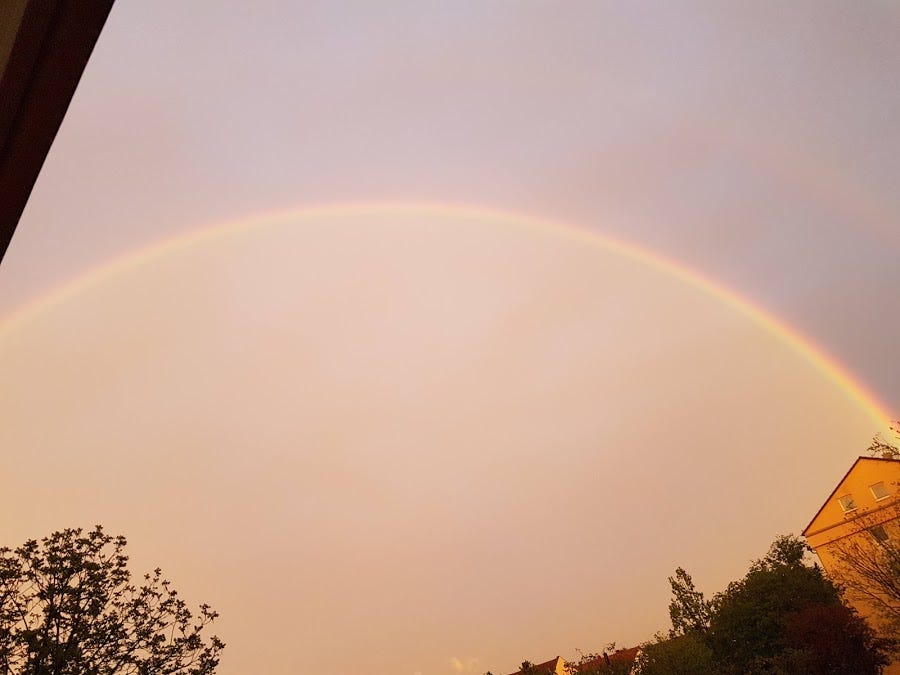
They say there would be no rainbows without sunshine and rain. It had been raining in Munich last week. Germany has also started to see a bit of sunshine with normal life slowly starting to come back during this global pandemic. For me, it was a vivid and colorful start to the weekend. I was greeted home with a full vibrant (double) rainbow (all the way).
Hence, this newsletter will focus on rainbows, physical structures, and mechanisms.
I am not the ‘brightest’ of photographers, but I manage to get a few okay-ish clicks.

It was my first time to experience a full rainbow arc. Being a science student, I would always think: How is it formed? How do we see it? Where does it end? Is there really Gold at the end of the rainbow?
The XKCD comic below does an effective job in tackling all of the complex questions in just four panels:

—————————————————————————
Continuing with topics from Physical Sciences, I stumbled upon an interesting design that I just had to 3d print and try to assemble:

This particular design is called the impossible table and it shall go directly to my office desk. The STL files can be found here. The original designer has done a good job of explaining how it all works together. Here is the link to the video. or read my quick explanation below.
As a quick explanation: The threads on the edges keeps the top and bottom plates aligned to each other. The short thread in the center is tensioned such that both top and bottom pull each other. The opposing tension from the edges keeps the structure in a balance. The strength of the structure is very intuitive: threads hold a great deal of force when pulled on opposite ends. If these threads were replaced by steel threads and the plastic parts with cement, the structure is nothing short of a hanging bridge.
Assembly: The assembly of this table can be very painful if you are not systematic in your approach. It took me at least 2 hours to get it perfectly right. I had to learn how to tie a square knot which can be converted into a slipknot and back from this video so that I can adjust the tension on the strings.
I can recommend the following ways:
1) Tie the centerpieces together first with a short string. Turn both the top and bottom pieces on the side. Cut three equal pieces of strings and tie them to the edges such that the middle string is strongly tensioned.
2) Find some equal-sized small boxes or cubes. Stack them between the top and bottom pieces. This way you will have the table standing without the strings. Tie and tension the strings. Remove the cubes.
—————————————————————————
Mechanisms. Sometimes they are so subtle and ubiquitous that we take them almost for granted without thinking how delicately they are achieved. Just like a pedestal fan/tabletop fan which has some interesting mechanisms: such as buttons which can only be on one at a time. Or a lever that allows the fan to oscillate.

Jared Owen in the youtube video uses 3d animations to explain these intricate mechanisms in a very satisfying way. I certainly did feel tad bit smarter after watching his video.
—————————————————————————
That’s all for this time. I hope the world slowly returns to normal and everyone can find the gold at the end of their rainbows.
If you would like to send in your projects and hacks to be part of the newsletter, please do comment below, or email me: a.nadeem89@gmail.com.
Leave your feedback in the comments about the content. and subscribe here, and share the newsletter with your friend.
Woohoo good stuff!! 🌈